
Finding Your Way on the Street
Three simple hacks to build confidence and craft stronger street frames.
The first time I ever brought a camera onto the streets of Oslo, I froze. I stood completely still for what felt like ages, camera half hidden inside my jacket, pretending to look casual while my heart raced.
When I finally lifted the viewfinder to my eye, it hit me: I had absolutely no idea what to look for.

I had imagined the street photography process to be simple, walk around, photograph interesting moments, return home, edit, post to social media.
In theory, yes, that is all it takes. In practice, it’s a very different world.
Seeing is something you learn. Reacting is something you train. Confidence is something you build, slowly.
To help you shortcut some of those early frustrations, here are three simple hacks you can bring into your own street photography adventures.
I’ve ranked them by difficulty, with the last being the more advanced creative approach.
1. Color Matching
A classic starting point, and a surprisingly powerful one.

In street photography, people often describe two approaches: hunting and fishing.
Hunting means you’re walking, reacting, chasing color or movement on instinct.
Fishing is the opposite, you choose a scene, plant yourself there, and wait for the right subject to enter your frame.
Color matching works beautifully for both.
What to look for:
A subject wearing a color that already exists somewhere in your scene
Repeating or echoing colors, jackets, signs, bags, cars
Layers of similar tones that stack together as people move through
This is an easy technique to start with, but it can evolve into something more advanced.
Try waiting for two or even three subjects of the same color to appear. When the timing aligns, the frame becomes more intentional, more graphic, and more memorable.

2. Go for the Light
When you feel lost, return to photography’s foundation.
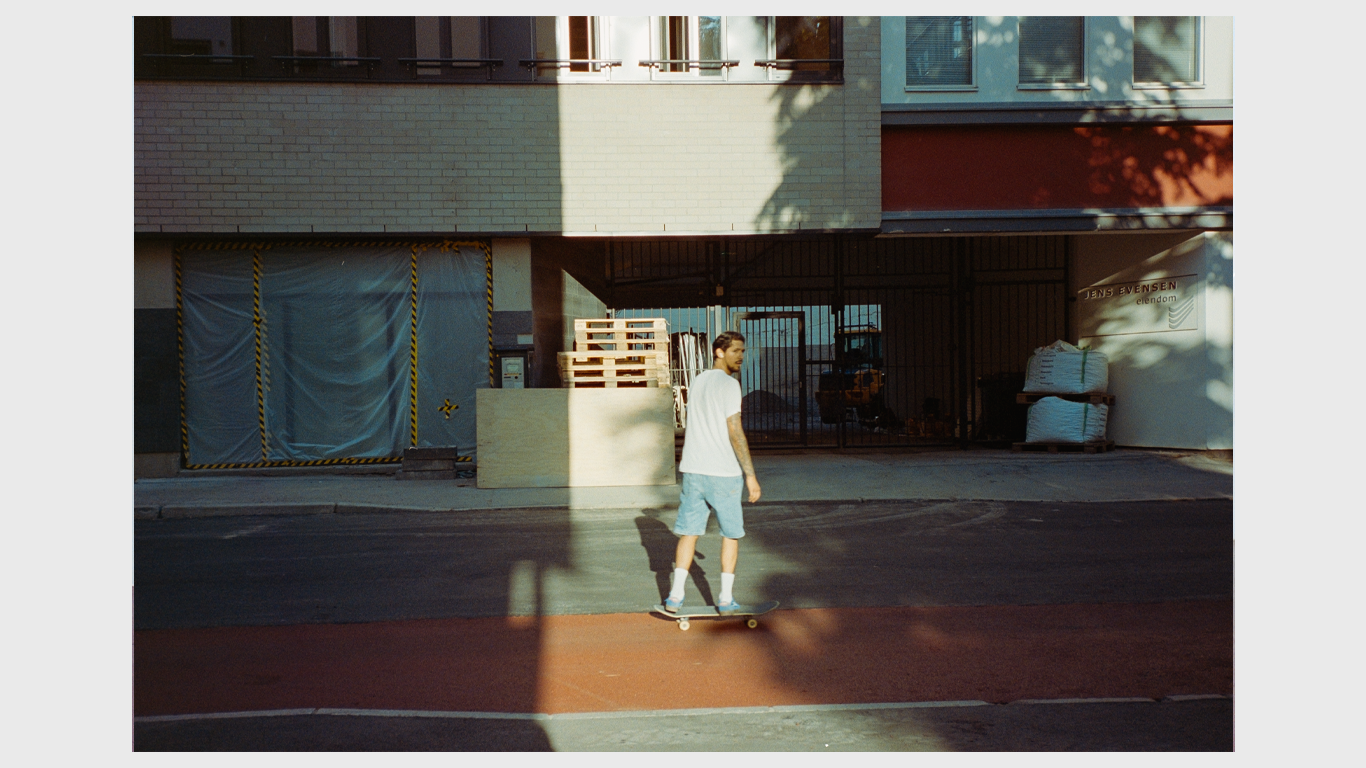
If you don’t know where to start: look for light. Not ideas. Not subjects. Light.
Set your camera to something simple, aperture priority works great, and use -1 exposure compensation as a starting point. Search for pockets or slices of light between buildings, on walls, across the pavement.
Then wait.
When a subject walks through that patch of brightness, press the shutter.
These images often appear graphic and stylized straight out of camera:
Clean silhouettes
Strong contrast
A subject carved out by shadows
That cinematic look you didn’t know you could make yet
The street becomes a stage. Light becomes your director.

3. Juxtaposition
A more advanced, but incredibly rewarding way of seeing.

Juxtaposition is simply placing two different elements side by side to highlight their contrast. Once your eye begins searching for it, you’ll find it everywhere.
Examples include:
An old historic building framed against a modern glass structure
Nature creeping into a high tech environment
Wealth and poverty occupying the same sidewalk
Chaos beside order, light beside dark
It can also be playful: a cloud perfectly replacing the part of someone’s hair they’re missing, a giant advertisement dwarfing a tiny passerby, a shadow that doesn’t belong to the person creating it.

Street photography begins with hesitation for nearly everyone.
Standing still in Oslo with your camera hidden in your jacket? That’s not failure, that’s the starting line. The more you train your eye to notice color relationships, follow the light, and explore visual contrasts, the more natural the street will feel. These simple hacks aren’t rules; they’re invitations.
Invitations to stay still, to pay attention, to learn the rhythm of your city, and eventually, to create images that feel intentional rather than accidental.
Out there, the streets will always offer you something. The key is learning how to see it.
