
Bad Scans, Easy Fix
We’ve all been there, getting scans back from the lab only to feel disappointed. The colors don’t look right, skin tones feel off, and the images just don’t have the life you hoped for.
With a few small adjustments, you can bring those scans back to life. By making subtle tweaks to the red, green, and blue channels, your images will be ready for further editing, or perfectly usable just as they are.
Last year, while attending a hockey tournament for my youngest in Hamar, I shot a roll of Santa Color 100.
I pushed the film and rated it at ISO 400. When the scans came back, they looked… bad. My first thought was that pushing the film had caused the issue, but the lab confirmed they had adjusted the development times accordingly.
Sometimes scans just come back looking flat or “meh”, and there can be many reasons for that. This little hack is perfect for rescuing scans like these.
I learned this method from watching @linusandhiscamera, and I’ll link his video below. I highly recommend watching it, as he walks through every step clearly and visually.
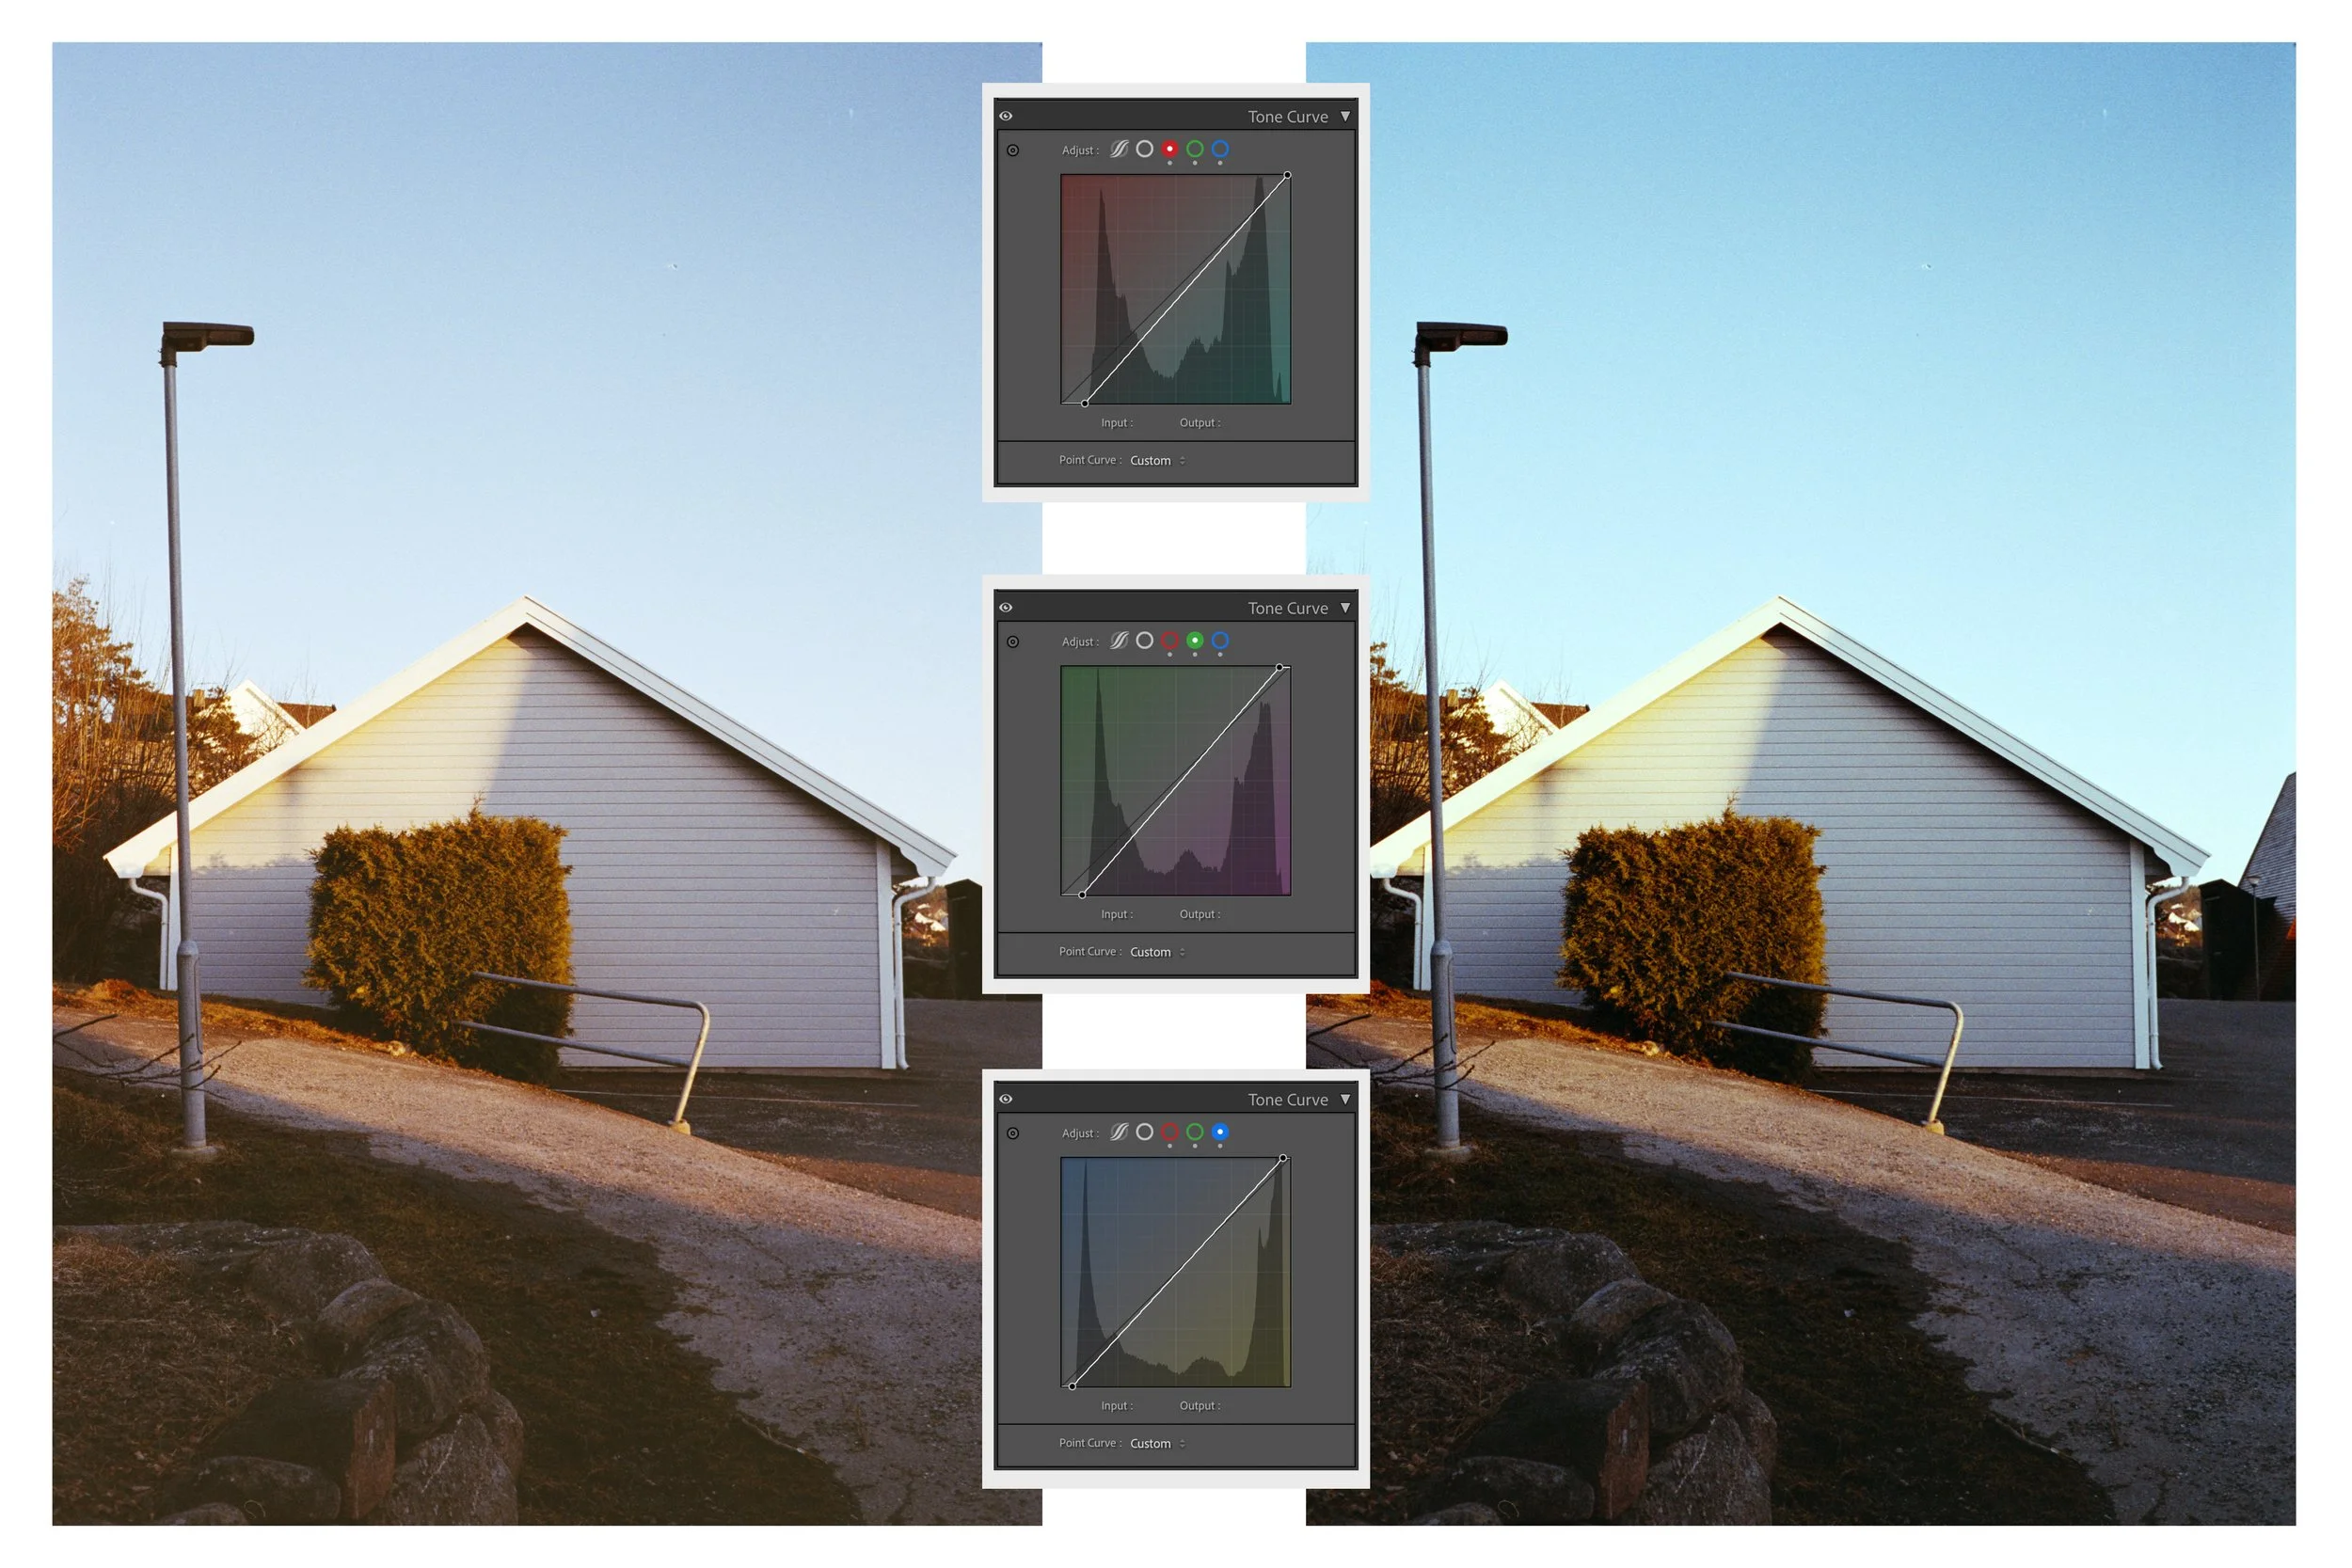
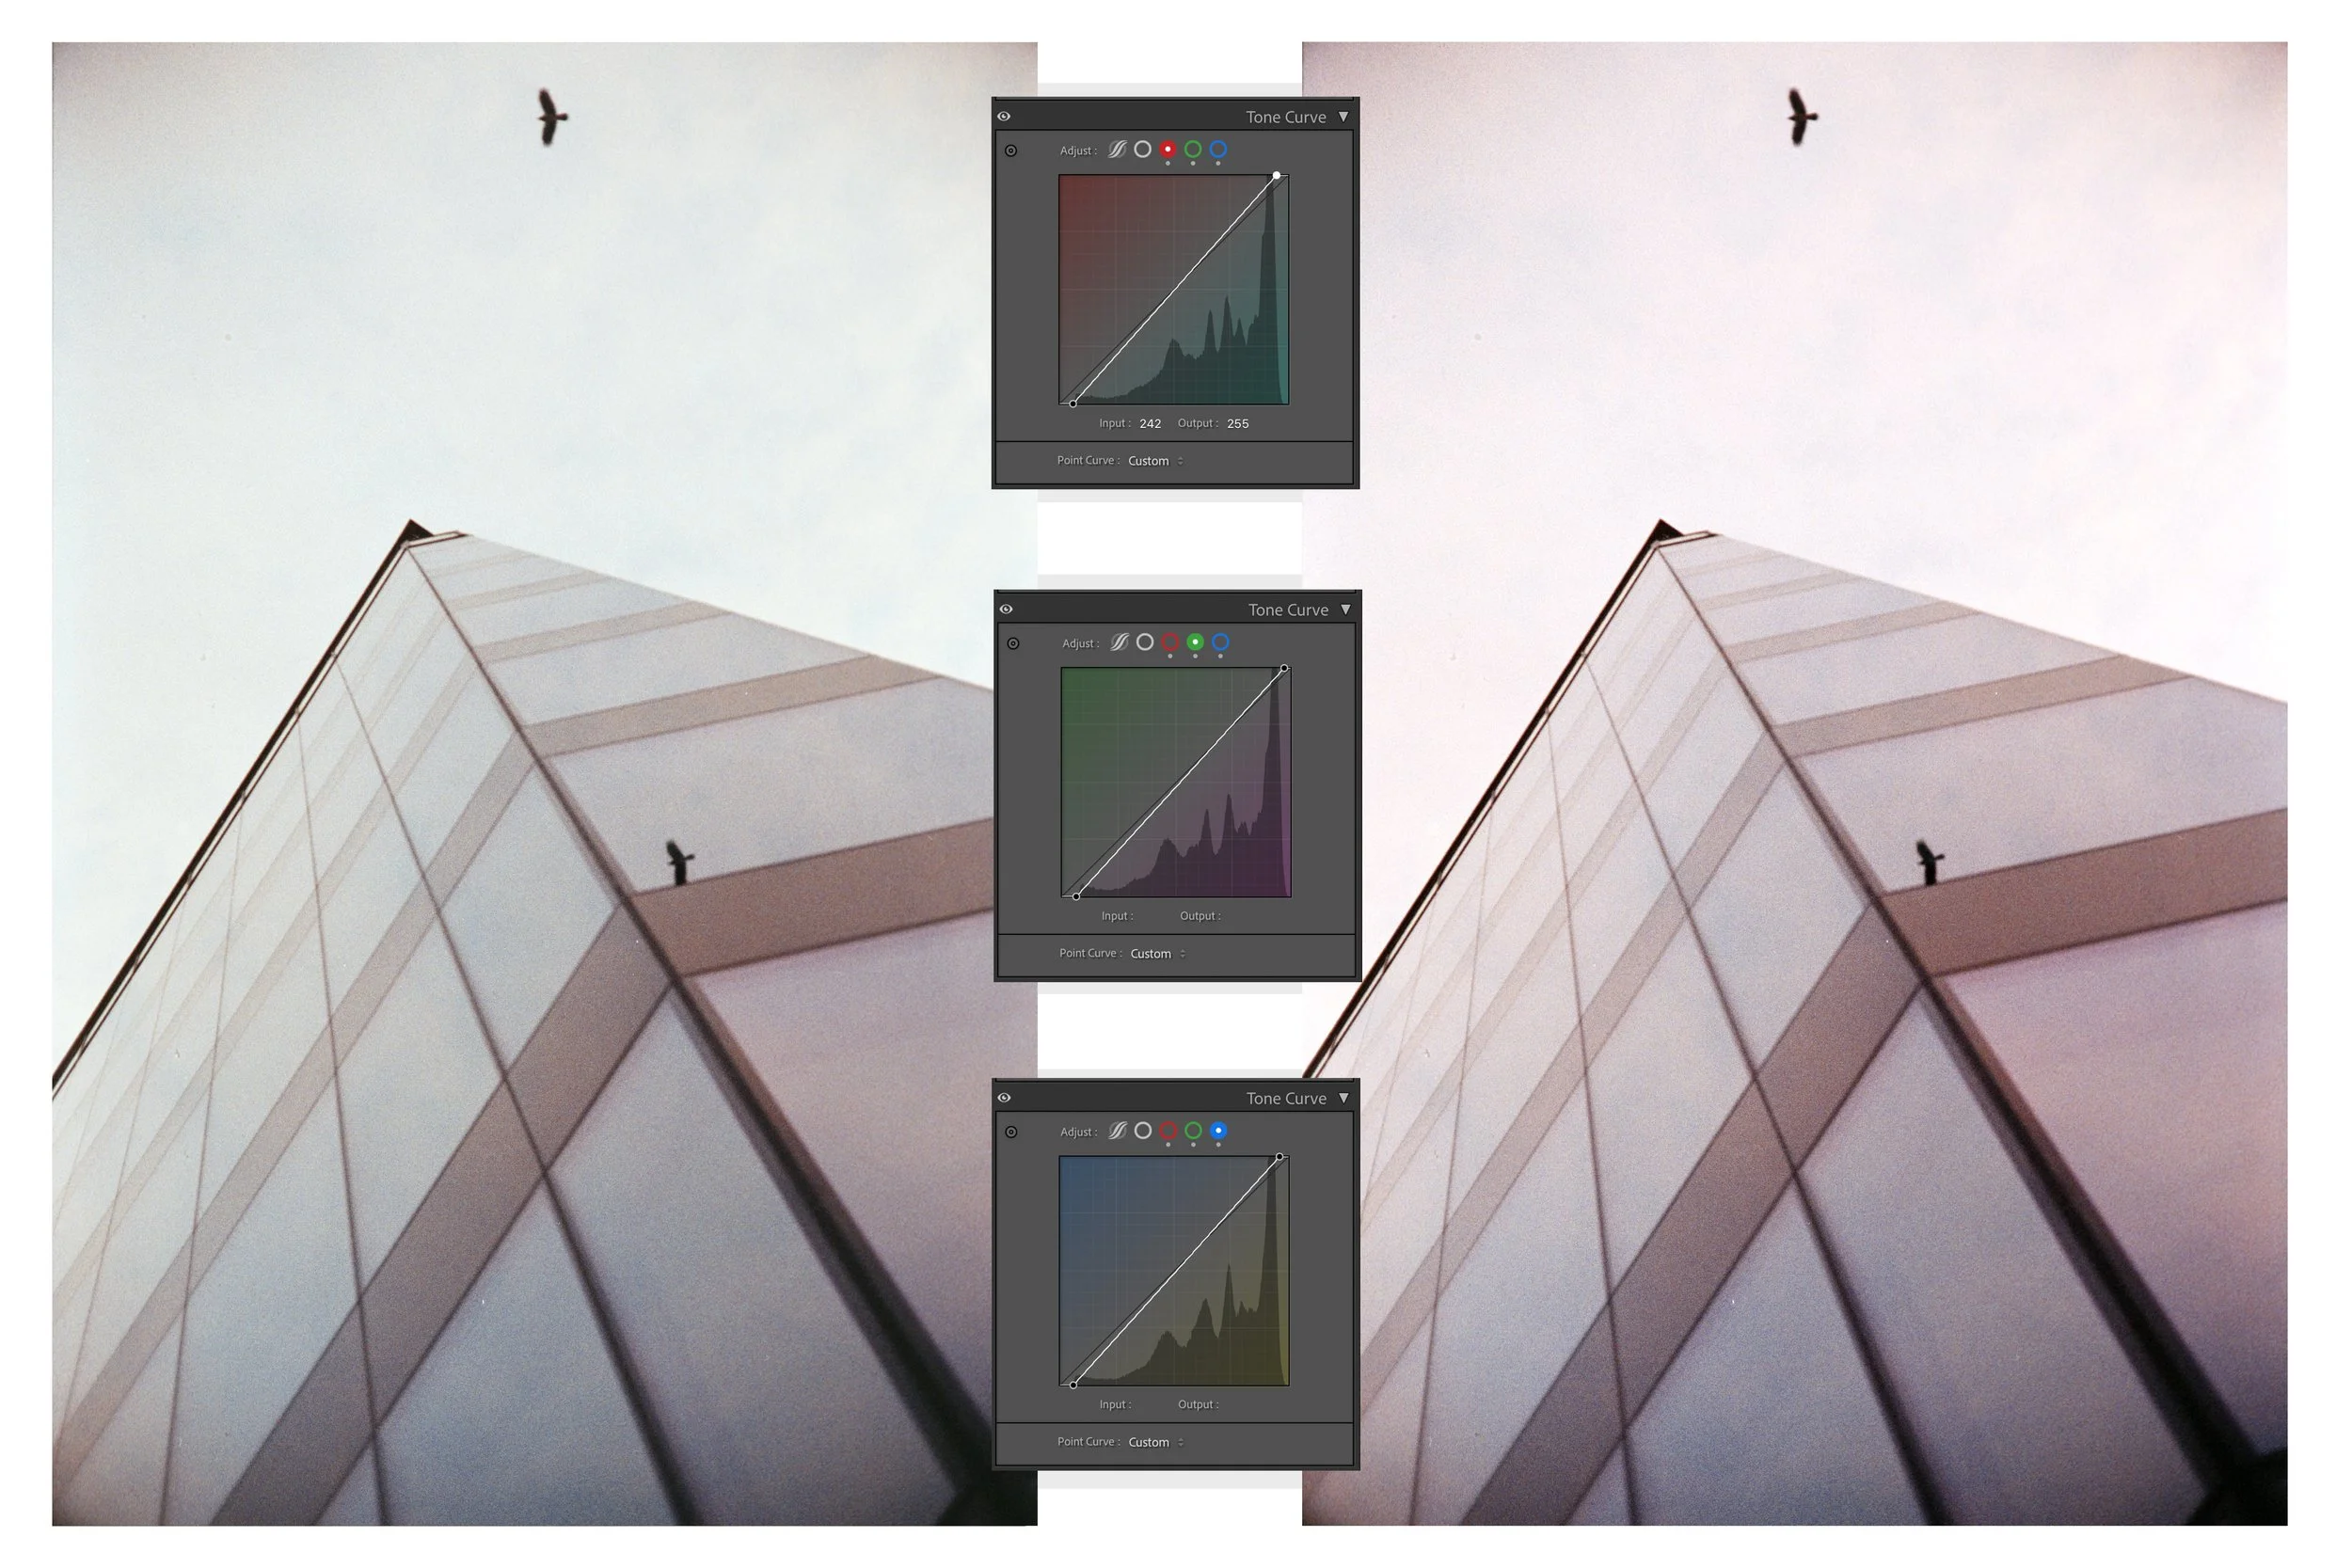
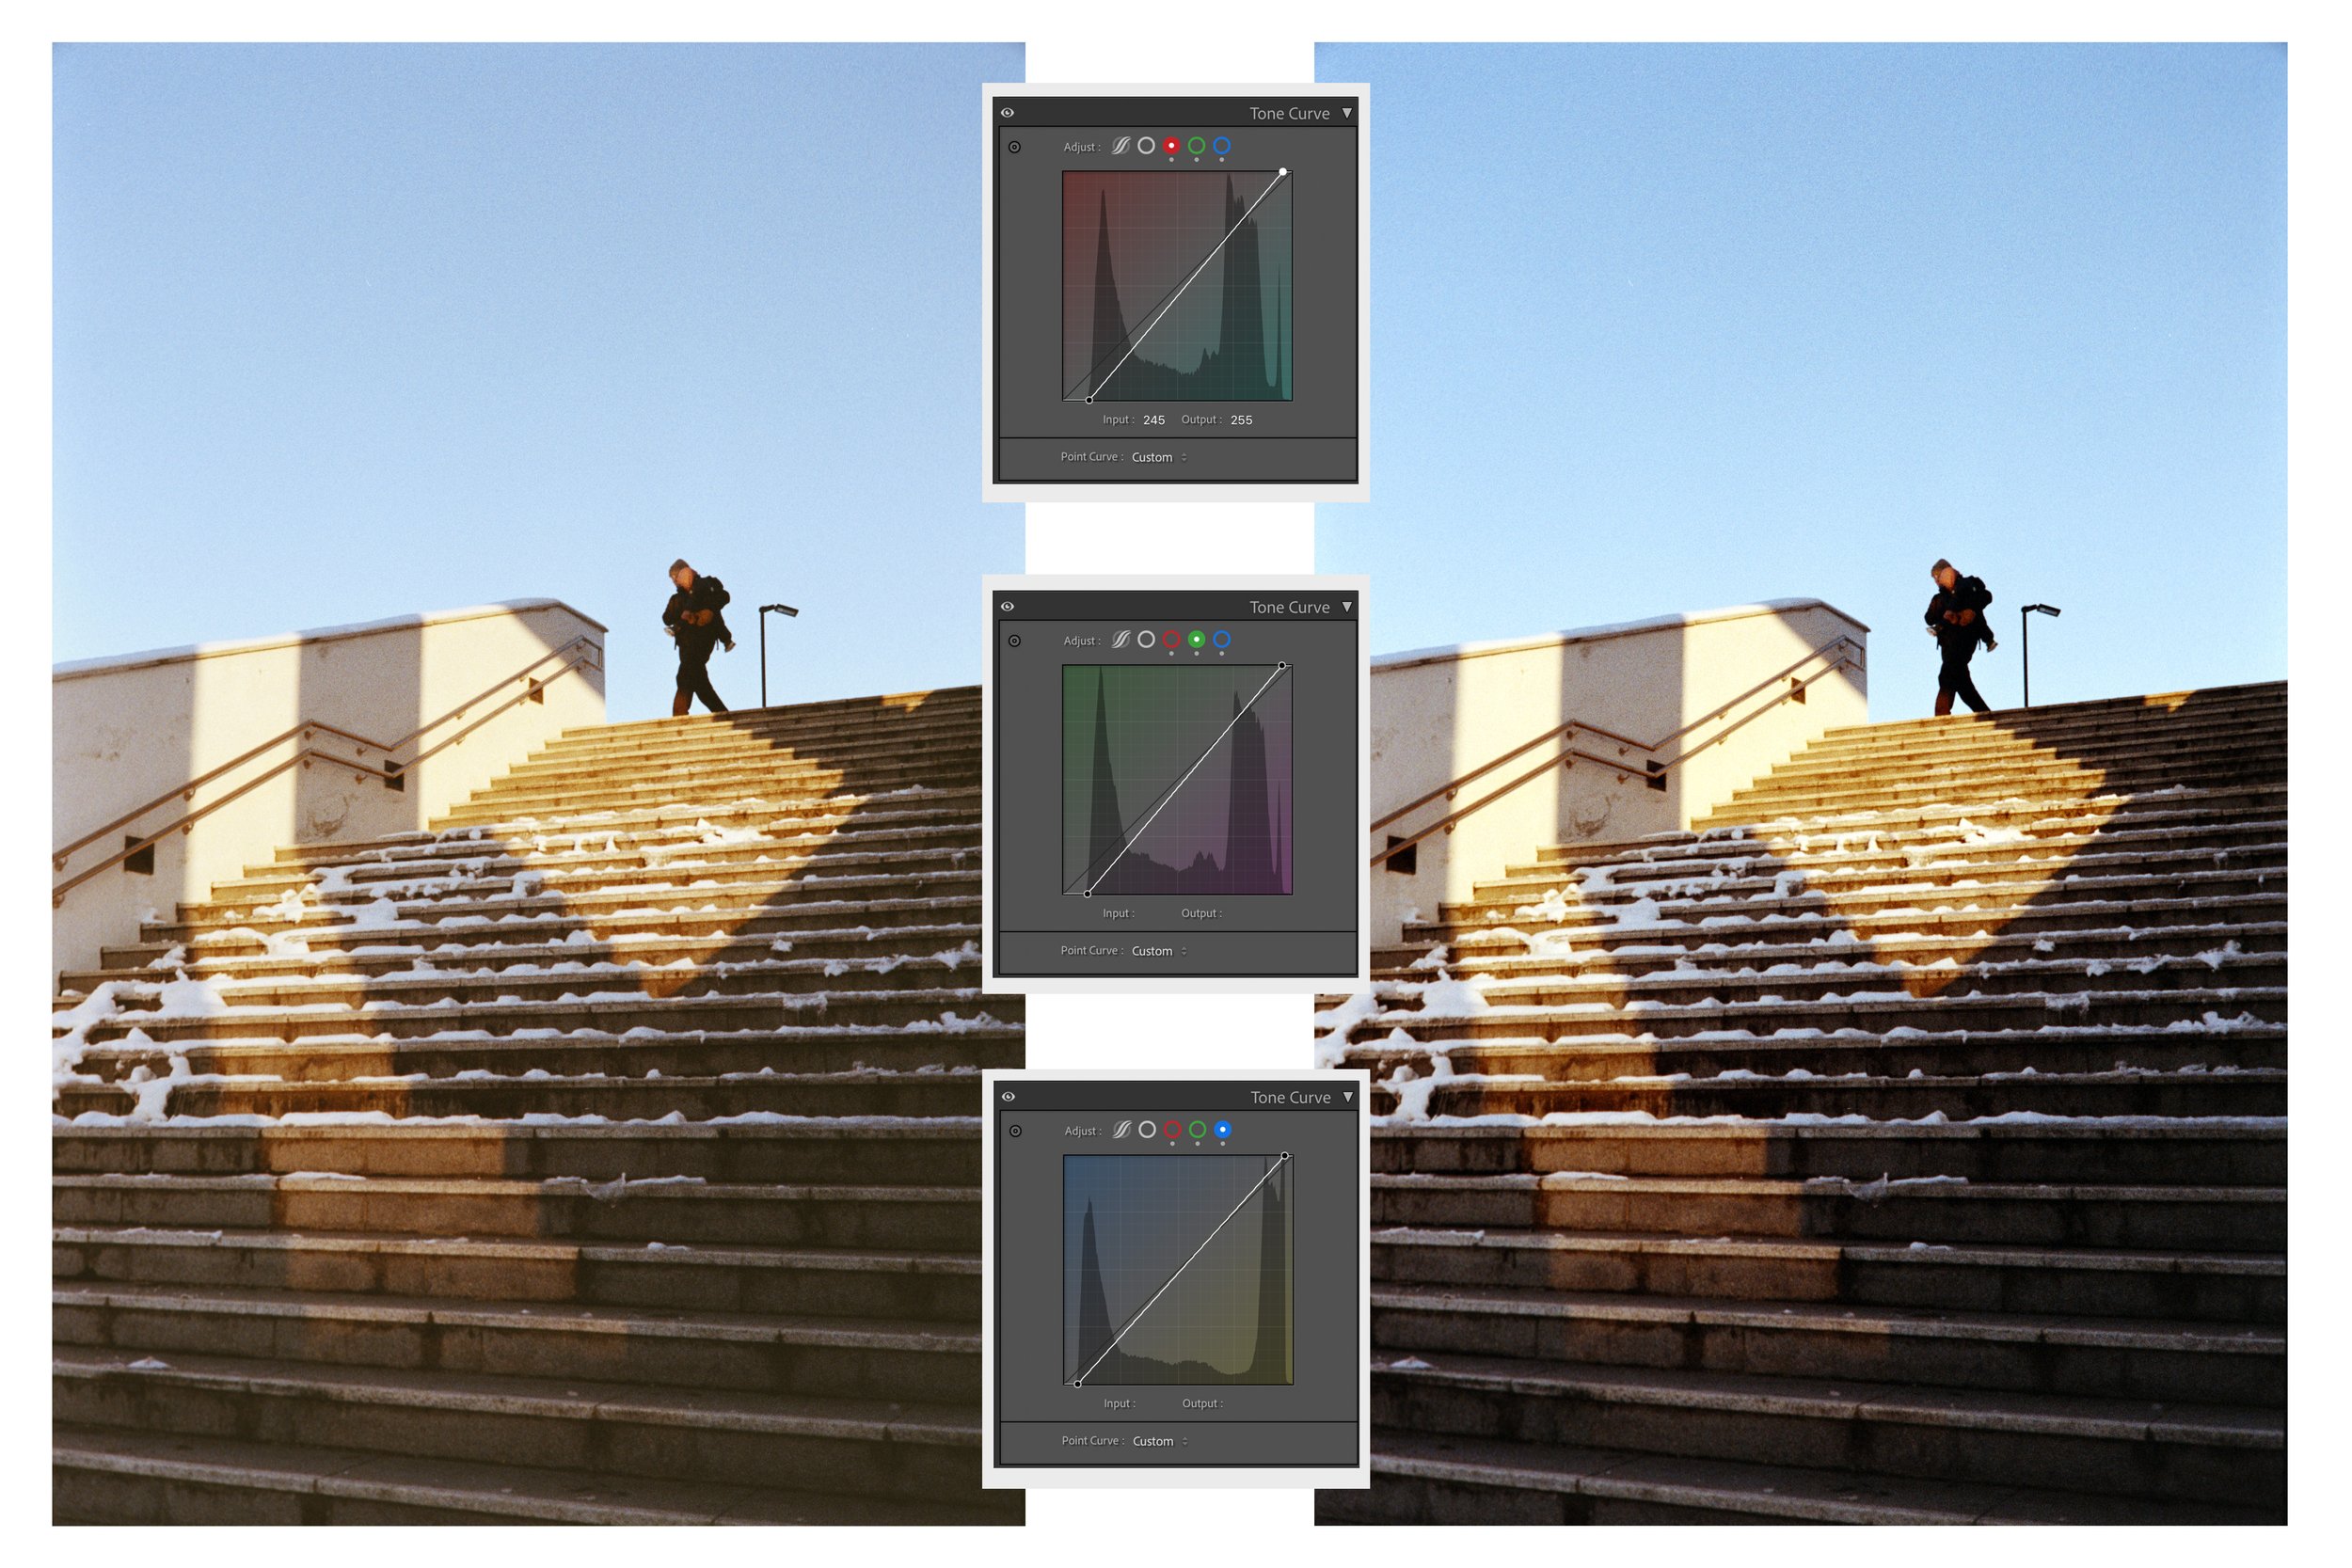
The process is the same for any image. Start by selecting the red channel and adjust the input and output points so they just touch where the signal begins. Repeat the same steps for the green and blue channels.
For this particular stair image below:
The Red Curve shows a slight lift in the highlights and a dip in the shadows to balance the warmth.
The Green Curve has a subtle S-shape to control the magenta/green balance.
The Blue Curve shows a stronger lift in the highlights, which brings that beautiful blue back into the sky.
Always trust your eyes. Don’t blindly drag the points exactly to where the signal starts and leave it there, fine tune until the image feels right.
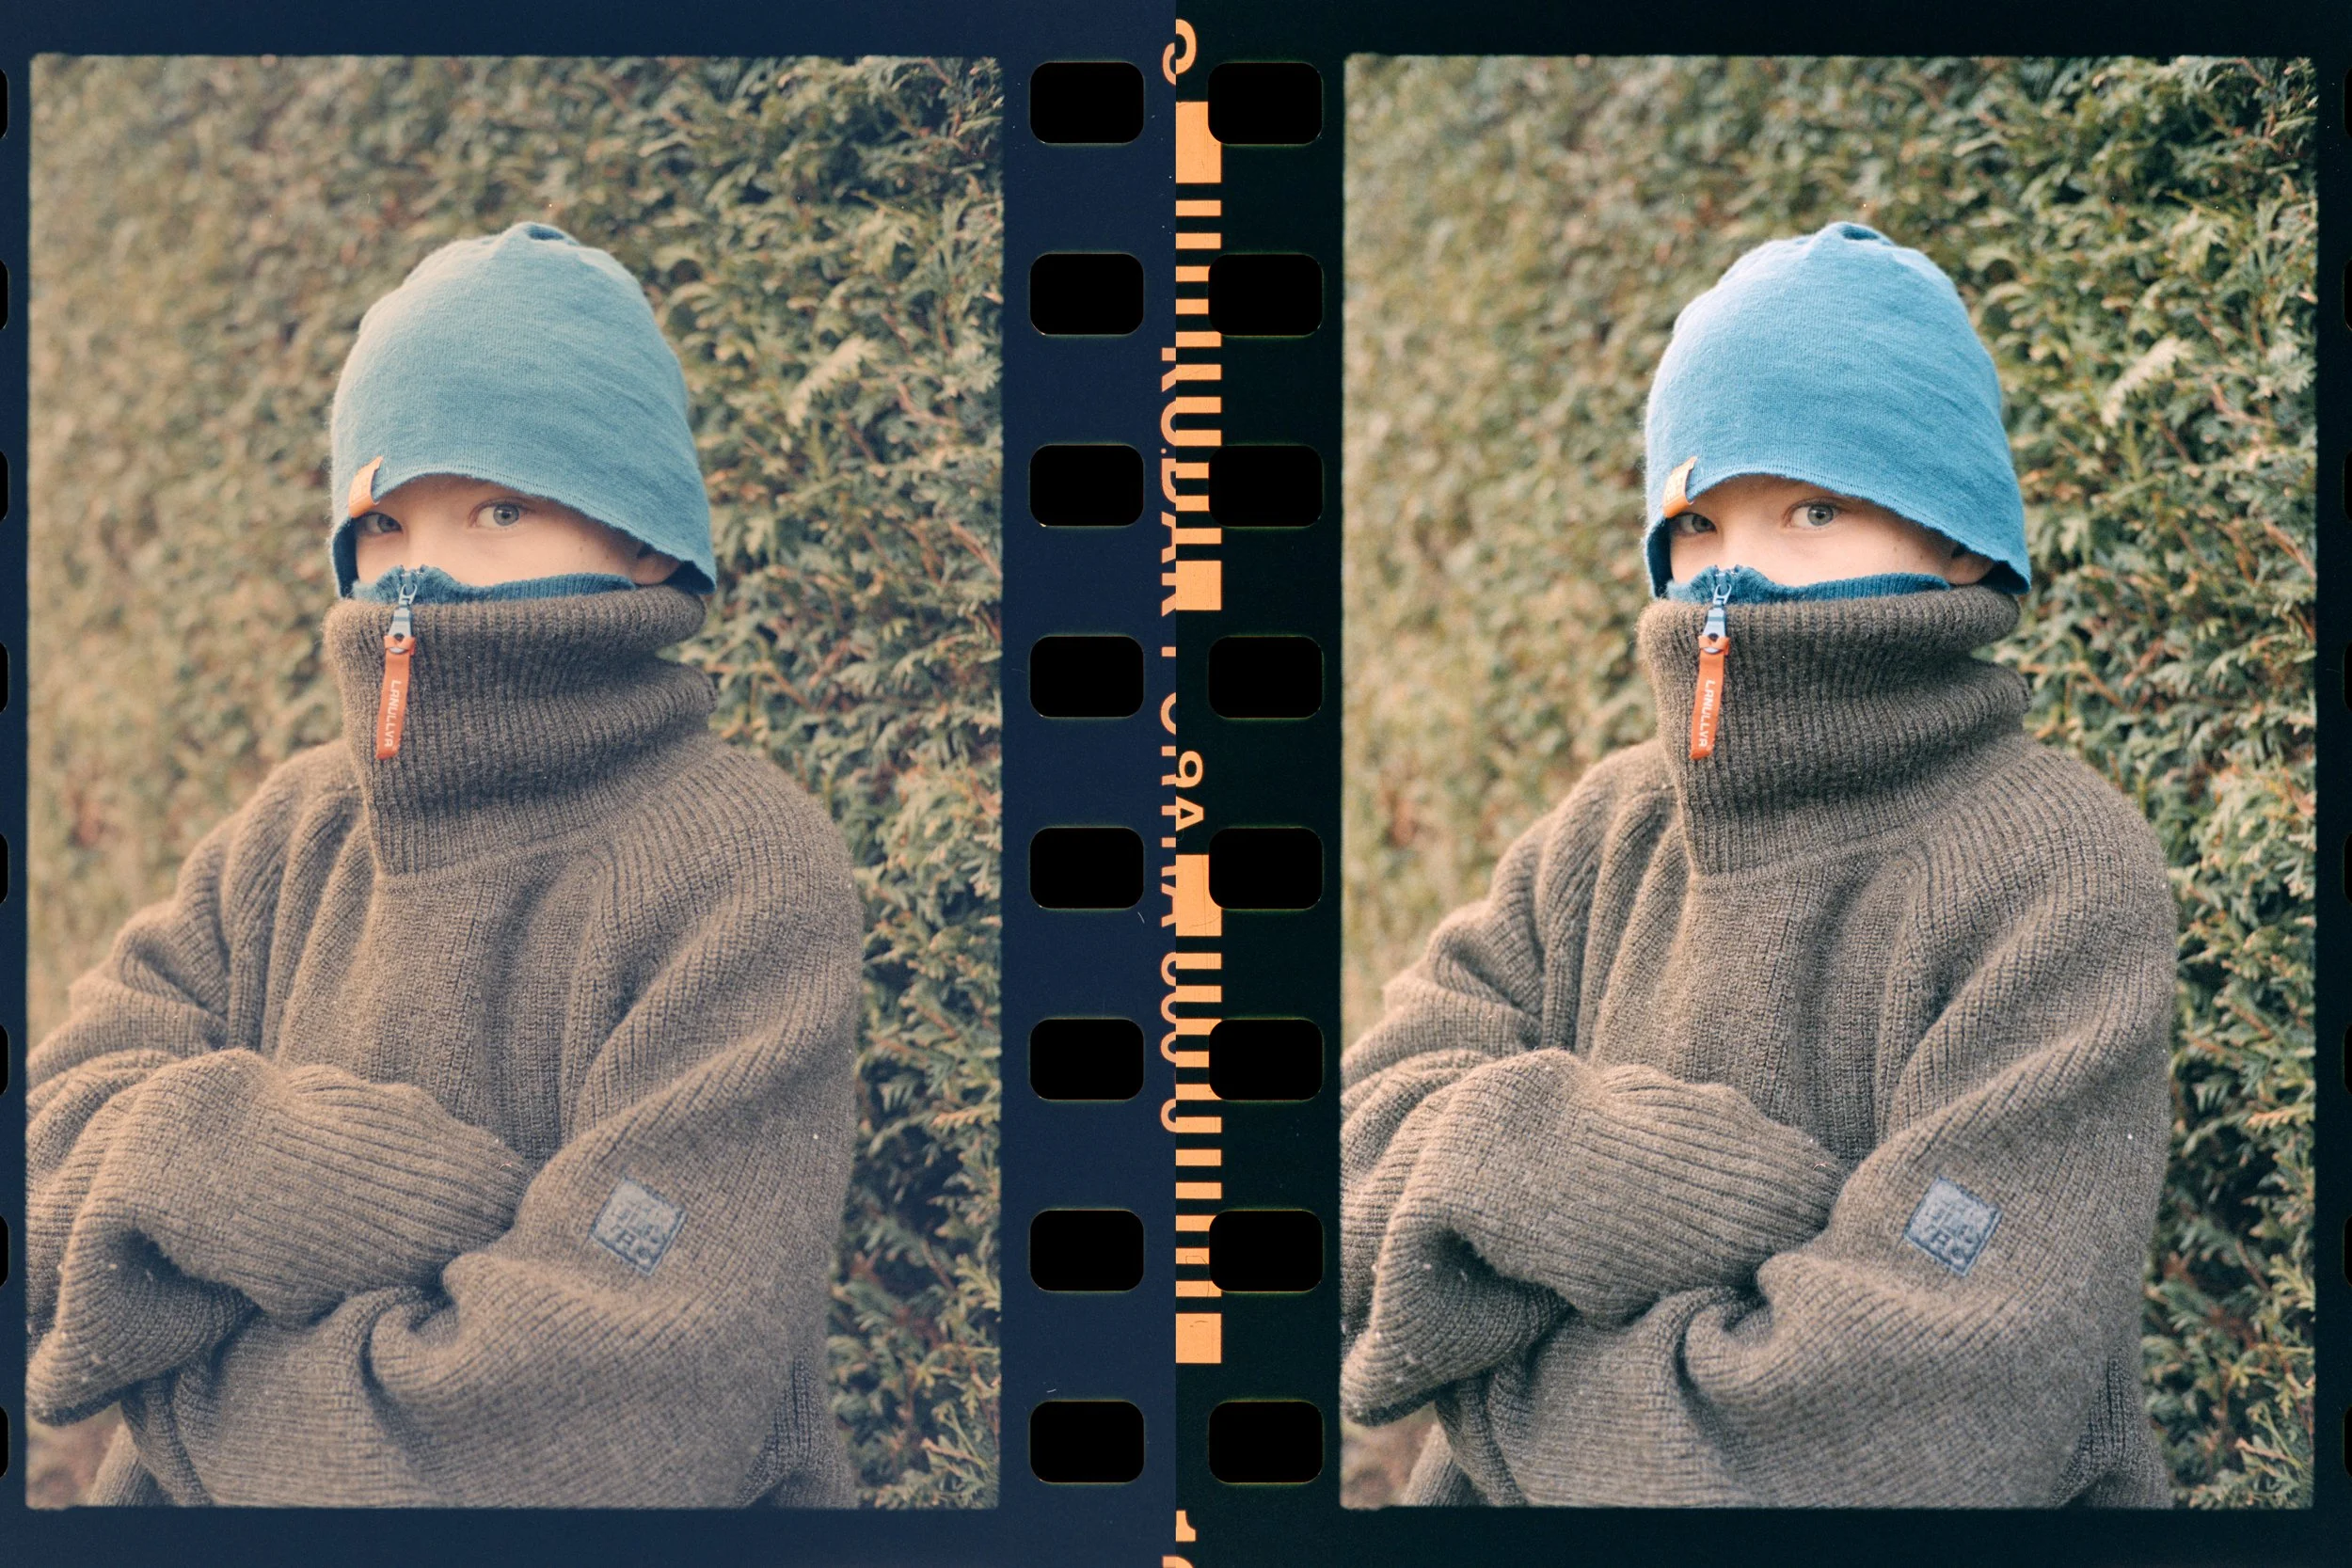
Done carefully, this method will give your lab scans a solid color correction and bring skin tones and overall life back into your photos.
Unfortunately, this won’t work for Negative Lab Pro scans.
I’ve used this approach on countless images and saved many frames I once thought were throwaways.
Once again, check out @linusandhiscamera video on the subject, and start saving your bad film scans with this simple, effective fix.